
티스토리 뷰
오늘은 프로젝트에서 google maps를 호출해야 하는 기능이 있어서,
google Maps Api를 불러오고 간단한 정보를 표시해 주는 작업을 해보자!
구글맵 키 받아오기
1. Maps SDK for iOS
Google 클라우드 플랫폼
로그인 Google 클라우드 플랫폼으로 이동
accounts.google.com
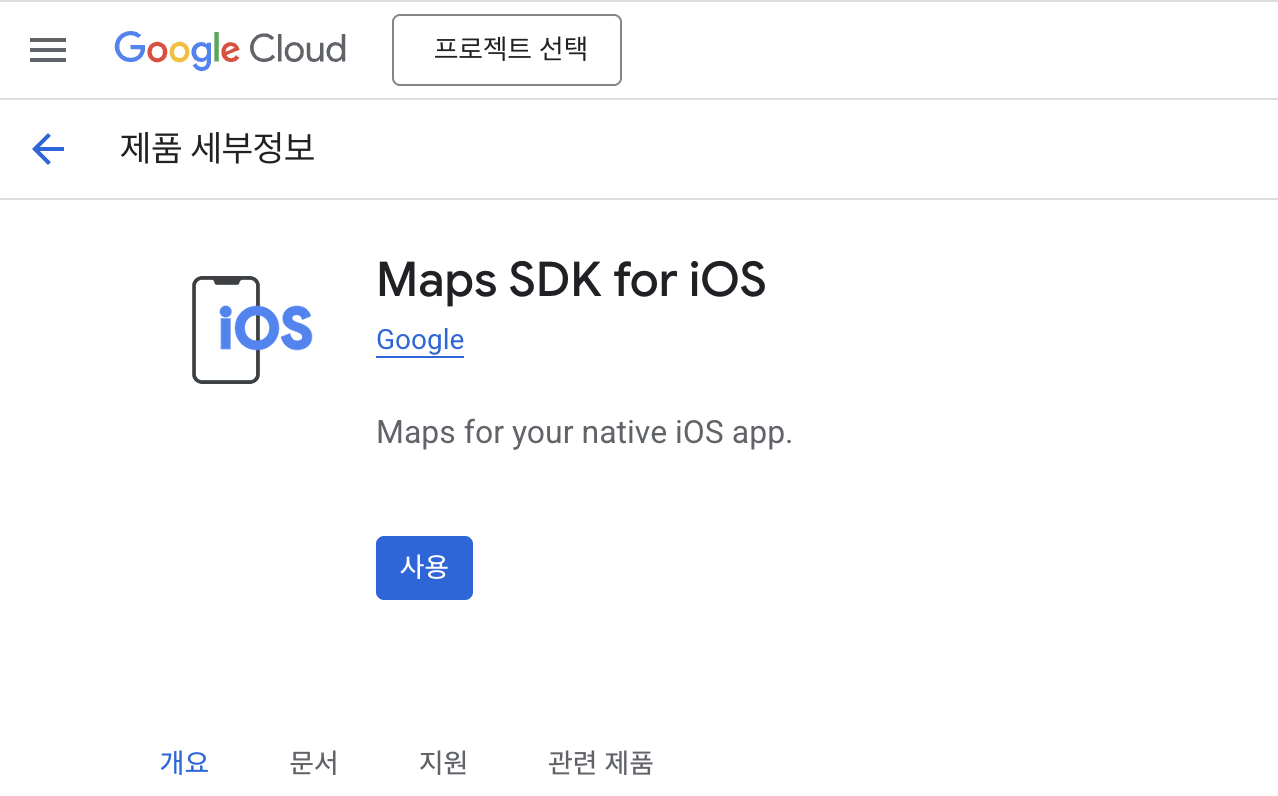
위 링크를 통해서 Maps SDK for iOS를 검색하면 쉽게 사용할 수 있는 게 있다. 여기서 사용 눌러주면 다음 정보로 넘어간다.
2. 정보등록
카드 정보를 등록해야 한다. 아니면 등록이 안됨!

그리고 카드 등록을 하면 간단하게 이 api를 어떻게 접근할 건지, 어떤 플랫폼으로 접근할 건지 정보를 작성할 수 있다.
최소코드를 선호하되, iOS/SwiftUI로 접근하려고 해당 항목을 선택하였다.
3. AppID 등록하기

key를 발급받기 전 마지막 단계로는 bundle ID를 등록해야 한다.
apple 개발자 계정에 들어가서 app ID 추가에서 번들ID를 생성해 주자. 그다음 xcode 프로젝트에 계정이랑 번들 id를 연동시켜 주자

정보 입력도 마치고 번들 ID도 생성해 주었다면 API 키가 발급된다.
메모장에 키 코드를 복붙 해놓고 google maps platform으로 이동을 눌러주자.
4. 시작 완료 단계
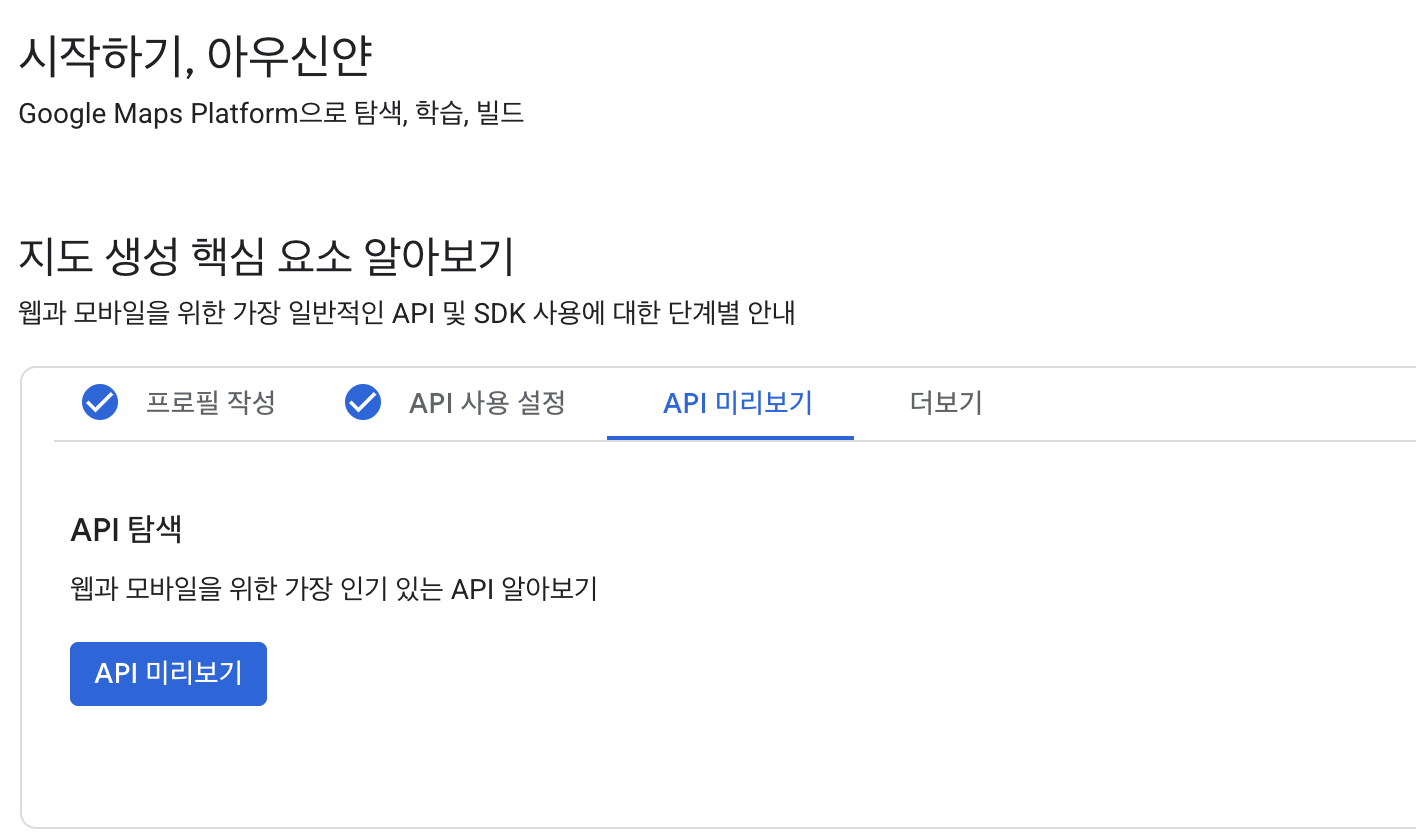
그럼 API키와 관련된 준비는 마쳤다.
5. cocoapods으로 SDK 설치
[iOS] cocoapods 설치
프로젝트를 하다보면 cocoapods 설치를 해야 하는 경우가 많다 프로젝트에 필요한 라이브러리를 자동으로 다운해주는 기능도 하며 라이브러리를 관리하는데 아주 많은 도움이 된다!!! 참고로 내가
yanni13.tistory.com
Google Maps SDK를 사용해야 되기 때문에 외부 라이브러리를 쉽게 설치하고 관리할 수 있는 cocoapods를 통해 관리해주고자 하였다.
그래서 프로젝트 폴더에 cocoapods를 설치해 줬다.
자세한 설치방법은 이전 포스팅을 확인하면 될 거 같다!
6. Podfile 수정

pod init을 해준 다음에 아래 코드를 use_frameworks! 아래 부분에 추가시켜 주자
  source 'https://github.com/CocoaPods/Specs.git'
  pod 'GoogleMaps'
  pod 'GooglePlaces'
GoogleMaps는 우리가 아는 그 구글맵 지도를 표시해 주고, 마커, 경로, 폴리라인, 사용자 위치 표시 등 지도 자체를 보여주는 기능이 전부 포함되어 있다고 보면 된다.
GooglePlaces는 장소검색, 주소나 영업시간, 평점등 장소를 상세 볼 수 있고 지도 위에 표시되는 정보 표시해 준다.
그다음 pod install 하고. xcworkspace로 프로젝트를 연다.
xcode에 maps 표시하기
1️⃣ xcode에 google maps 띄우기
그다음 받은 api키를 사용하기 위해서는 지도가 보일 뷰가 있어야 하고, 아까 받은 api키를 xcode에 등록시켜 줘야 사용이 가능하다.
AppDelegate
import UIKit
import GoogleMaps

class AppDelegate: NSObject, UIApplicationDelegate {
    func application(_ application: UIApplication,
                     didFinishLaunchingWithOptions launchOptions: [UIApplication.LaunchOptionsKey: Any]? = nil) -> Bool {
        GMSServices.provideAPIKey("발급받은 API 키")
        return true
    }
}
Google Maps SDK는 기본적으로 UIKit기반이며 GMSServices.provideAPIKey를 통해 초기화해 주는 과정이 필요하다.
Google Maps SDK를 사용할 권한을 초기화 과정을 통해 한번 인증함으로써 아까 발급받은 API키를 전달해 주면 google 서버에서는 이 요청을 통해 어떤 프로젝트의 요청인지 식별하는 과정이 되는 것이다.
UIKit기반이지만 swiftUI에서 사용해 줘야 되기 때문에 AppDelegate라는 파일에 따로 작성해 주도록 하였다.
: AppDelegate에 작성한 이유는 앱이 시작될 때 한 번만 초기화시켜서 API Key를 등록하기 때문에 앱 실행 시점의 초기화 코드 대부분이 작성되는 AppDelegate에 작성해 주도록 하였다. (UIKit기반 코드 동작원리를 이해하면 이해가 될 것임..)
GoogleMapView
import SwiftUI
import GoogleMaps

struct GoogleMapView: UIViewRepresentable {
    func makeUIView(context: Context) -> GMSMapView {
        // 뉴욕 좌표
        let targetLatitude = 40.7128
        let targetLongitude = -74.0060

        let camera = GMSCameraPosition.camera(withLatitude: targetLatitude, longitude: targetLongitude, zoom: 14.0)
        let mapView = GMSMapView(frame: .zero, camera: camera)

        // 뉴욕 마커 추가
        let marker = GMSMarker()
        marker.position = CLLocationCoordinate2D(latitude: targetLatitude, longitude: targetLongitude)
        marker.title = "New York City"
        marker.snippet = "The Big Apple"
        marker.map = mapView

        return mapView
    }

    func updateUIView(_ uiView: GMSMapView, context: Context) {
        // 필요할 때 지도 업데이트
    }
}
GoogleMaps는 UIKit기반이기 때문에 SwiftUI에서 사용하려면 UIViewRepresentable을 사용해야 한다.
makeUIView
나는 뉴욕 기반 지도만 불러오면 되기 때문에 뉴욕 맨해튼 어딘가로 경도와 위도를 찍고 나타내줬다.
let camera = GMSCameraPosition.camera(withLatitude: targetLatitude, longitude: targetLongitude, zoom: 14.0)
여기서 카메라란 사용자가 지도를 보는 viewpoint를 의미하며 지도에서 보일 부분의 위치와 각도 설정을 해준다.
let mapView = GMSMapView(frame: .zero, camera: camera)
그다음 실제 google maps 뷰 객체를 생성해서 지도 뷰를 생성하도록 한다. 아까 viewpoint를 지정해 줬다면 실제 객체를 생성할 때 정보를 넘겨주는 용도로 사용됨!
다음으로 지도에서 표시될 마커만 찍어주면 구글 지도를 가져오고 마커를 표시해 주는 기능까지는 구현이 끝난 것이다!
GMSMarker()는 지도에서 표시될 마커를 생성해 주는 역할을 하며 마커가 표시될 위치와 마커를 눌렀을 때 표시될 장소이름, 상세 정보 등을 입력해 주도록 했다.
updateUIView
이 함수도 마찬가지로 UIViewRepresentable 프로토콜의 필수 메서드이기 때문에 작성은 했지만 내부로직은 당장 필요 없어서 따로 작성하지 않았다.
👀 결과화면

뉴욕 지도가 잘 나오는 것을 확인할 수 있다!!
2️⃣ 원하는 장소 상세 정보 확인하기
위에서는 뉴욕 맨해튼 어딘가를 위도, 경도로 설정하여 마커를 표시했는데 이번엔 원하는 위치를 마커로 잡고 상세주소랑 운영시간을 띄워보자!
먼저 상세정보를 표시하는 건 GooglePlaces를 import 해줘야 한다.
그리고 아까 받아온 API키를 GooglePlacesClient에도 초기화로 넘겨줘야 하기 때문에 AppDelegate에 아래 코드를 추가해 준다.
GMSPlacesClient.provideAPIKey("API 키")
GoogleMapView
func makeCoordinator() -> Coordinator {
	Coordinator(self)
}

func makeUIView(context: Context) -> GMSMapView {
	// 뉴욕 좌표
    let targetLatitude = 40.748817
    let targetLongitude = -73.985428

    let camera = GMSCameraPosition.camera(withLatitude: targetLatitude, longitude: targetLongitude, zoom: 14.0)
    let mapView = GMSMapView(frame: .zero, camera: camera)
    mapView.delegate = context.coordinator

    // 뉴욕 마커 추가
    let marker = GMSMarker()
    marker.position = CLLocationCoordinate2D(latitude: targetLatitude, longitude: targetLongitude)
    marker.title = "Empire State Building"
    marker.snippet = "Iconic NYC skyscraper"
    marker.userData = "ChIJtcaxrqlZwokRfwmmibzPsTU" // 엠파이어 스테이트 빌딩 Place ID
    marker.map = mapView

    return mapView
}
이번에는 엠파이어 스테이트 빌딩을 마커로 찍고 운영시간을 띄워주고자 위도와 경도를 수정해 주었다!
그리고 GMSMapView와 같은 UIKit기반의 코드와 SwiftUI를 이어 주기 위해서 Coordinator를 만들어줘서 delegate를 맡겨주도록 구현했다.
이외에도 마커 부분에 title과 sinppet을 수정해 주고, 특정 장소를 불러오기 위해선 해당 장소에 해당하는 Google Place ID를 가져야 한다.
📍 Google Place ID
: Google Maps의 특정 장소를 식별하는 고유한 문자열이다. 이 ID를 사용하면 특정 장소에 대한 상세정보를 확인할 수 있다.
랜드마크나, 레스토랑, 공원, 카페 등 고유한 ID를 구분할 때 필요하다고 한다.
Place ID Finder | Maps JavaScript API | Google for Developers
Send feedback Place ID Finder Stay organized with collections Save and categorize content based on your preferences. The Place ID Finder sample allows a user to find a place based upon its address, then it adds a marker for the place to the map, and displa
developers.google.com
위 링크에서 원하는 장소를 검색하면 place ID가 나오니 참고하면 좋을 거 같다.
이 Id를 userData에 저장해 두면 GMSMarker는 userData속성을 이용해서 데이터를 담아 둘 수 있도록 하여 최종적으로 뷰에 표시할 수 있도록 한다.
class Coordinator: NSObject, GMSMapViewDelegate {
        var parent: GoogleMapView
        let placesClient = GMSPlacesClient.shared()

        init(_ parent: GoogleMapView) {
            self.parent = parent
        }

        func mapView(_ mapView: GMSMapView, didTap marker: GMSMarker) -> Bool {
            if let placeID = marker.userData as? String {
                fetchPlaceDetails(placeID: placeID)
            }
            return true
        }

        private func fetchPlaceDetails(placeID: String) {
            let fields: GMSPlaceField = [.name, .formattedAddress, .openingHours]
            placesClient.fetchPlace(fromPlaceID: placeID, placeFields: fields, sessionToken: nil) { place, error in
                if let error = error {
                    print("Error fetching place details: \(error.localizedDescription)")
                    return
                }

                if let place = place {
                    DispatchQueue.main.async {
                        self.parent.selectedPlace = place
                    }
                }
            }
        }
    }
Coordinator 클래스에서는 fetchPlaceDetails 함수를 통해 GMSPlacesClient를 사용해서 Place ID에 대한 상세 정보를 가져오도록 한다.
그래서 필수로 제공되어야 하는 장소이름, 주소, 운영시간을 가져오고 이 정보들을 parent.selectedPlace에 업데이트한다.
PlaceViewModel
import GooglePlaces

class PlaceViewModel: ObservableObject {
    private let placesClient = GMSPlacesClient.shared()

    @Published var placeName: String = ""
    @Published var address: String = ""
    @Published var openingHours: [String] = []

    func fetchPlaceInfo(placeID: String) {
        let fields: GMSPlaceField = [
            .name,
            .formattedAddress,
            .coordinate,
            .openingHours
        ]

	// google places api 요청 코드
        placesClient.fetchPlace(fromPlaceID: placeID, placeFields: fields, sessionToken: nil) { [weak self] (place, error) in
            if let error = error {
                print("Error fetching place: \(error.localizedDescription)")
                return
            }

            guard let place = place else {
                print("No place found")
                return
            }

            DispatchQueue.main.async {
                self?.placeName = place.name ?? "이름 없음"
                self?.address = place.formattedAddress ?? "주소 없음"

                if let openingHours = place.openingHours?.weekdayText {
                    self?.openingHours = openingHours
                    print("✅ 영업시간:")
                    for day in openingHours {
                        print(day)
                    }
                } else {
                    print("❌ 영업시간 정보 없음")
                }
            }
        }
    }
}
우리는 지금 엠파이어 스테이트 빌딩이라는 장소만 알고 있지, 이 장소에 대한 주소, 영업시간은 알지 못하기 때문에 이 정보를 요청하기 위해서 google places api에 상세 정보에 대한 요청을 보내서 표시해 주도록 해야 한다.
그래서 뷰모델에서 fetchPlaceInfo함수를 통해서 호출되면 google places api에 요청을 보내고 해당 응답을 받으면 @published로 선언된 각각의 변수에 정보를 넣어주고 있다.
ContentView
import SwiftUI
import GoogleMaps
import GooglePlaces

struct ContentView: View {
    @StateObject var viewModel = PlaceViewModel()

    @State private var selectedPlace: GMSPlace?
    @State private var showBottomSheet = false

    var body: some View {
        ZStack {
            GoogleMapView(selectedPlace: $selectedPlace)
                .edgesIgnoringSafeArea(.all)

            if let place = selectedPlace {
                VStack {
                    Spacer()
                    VStack(alignment: .leading, spacing: 8) {
                        Text(viewModel.placeName)
                            .font(.headline)
                        Text(viewModel.address)
                            .font(.subheadline)

                        ForEach(viewModel.openingHours, id: \.self) { name in
                            Text(name)
                        }
                    }
                    .padding()
                    .background(Color.white)
                    .cornerRadius(12)
                    .shadow(radius: 4)
                    .padding()
                }
            }
        }
        .animation(.easeInOut, value: selectedPlace)
        .onAppear {
            viewModel.fetchPlaceInfo(placeID: "ChIJaXQRs6lZwokRY6EFpJnhNNE")
        }
    }
}
contentview에서는 마커를 눌렀을 때 해당 정보를 표시해 주는 간단한 로직을 구현했다.
👀 결과화면

엠파이어 스테이트 빌딩에 마커가 잘 찍혀있고 이 마커를 누르면 운영시간이랑 위치가 잘 찍혀있는 것을 확인할 수 있다!
참고
'iOS' 카테고리의 다른 글
| [iOS] Swiftgen 적용하기 (1) | 2025.08.02 |
|---|---|
| [iOS] APNs를 통한 push notifications 구현하기 (0) | 2025.07.24 |
| [iOS] CoreData를 활용하여 CRUD 구현하기 (1) | 2025.04.28 |
| [iOS] CoreML로 프로젝트 적용해보기 (4) | 2025.04.02 |
| [iOS] URL Scheme를 통한 딥링크 설계 및 구현 (0) | 2025.02.14 |
- Total
- Today
- Yesterday
- 클로저
- ios
- unstructed task
- 스위프트
- Swift Format
- awakeFromNib
- swiftUI
- CoreData
- Swift Concurrency
- ObservableObject
- 백준
- 코딩테스트
- rxswift
- UITest
- UIKit
- asyne-let
- Task
- group tasks
- SnapshotTest
- 프로그래머스
- foundation models
- SWIFT
- combine
- internal Combine
- detached task
- prepareForReuse
- XCTest
- Fastlane
- closure
- Xcode
| 일 | 월 | 화 | 수 | 목 | 금 | 토 |
|---|---|---|---|---|---|---|
| 1 | 2 | 3 | 4 | 5 | 6 | 7 |
| 8 | 9 | 10 | 11 | 12 | 13 | 14 |
| 15 | 16 | 17 | 18 | 19 | 20 | 21 |
| 22 | 23 | 24 | 25 | 26 | 27 | 28 |
| 29 | 30 | 31 |